Introduction
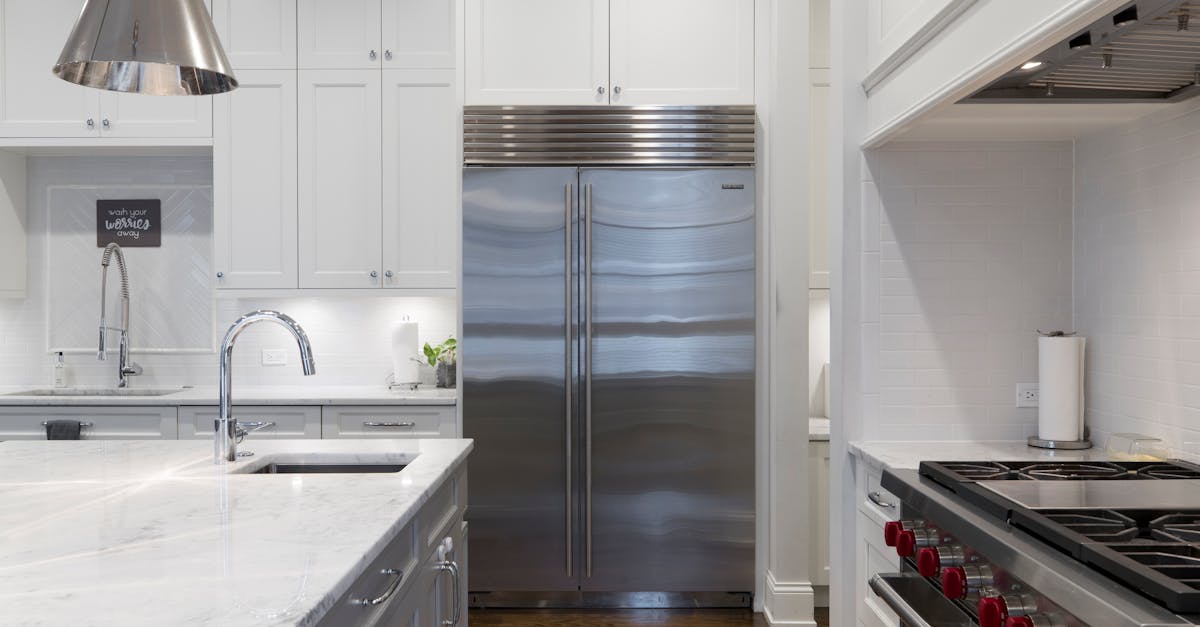
When it comes to luxury appliances, Sub-Zero refrigeration units stand out for their design, performance, and advanced technology. However, the installation of a Sub-Zero PRO Series refrigerator is not a task to be taken lightly. Proper installation is crucial for optimal performance, safety, and longevity of the appliance.
At Sub Zero Repair Austin, we specialize in advanced Sub-Zero repair and maintenance, which includes expertise in professional installation protocols that ensure your appliance performs flawlessly. In this blog post, we will delve into the essential components of Sub-Zero PRO Series professional installation, providing a detailed guide that covers everything you need to know.
Table of Contents
- Site Preparation and Opening Dimensions
- Anti-Tip Bracket Installation
- Placement and Power Connection
- Water Line and Plumbing
- Door and Drawer Alignment
- Anchoring and Completion
- Dual Installation Guidelines
- Additional Resources
- Preventative Maintenance Tips
- Conclusion
Site Preparation and Opening Dimensions
Before installation, it’s necessary to prepare the site adequately. The first step involves verifying the opening dimensions and ensuring accessibility for electrical and plumbing connections. According to Sub-Zero’s official guidelines, your installation should begin with these crucial points:
- Opening Dimensions: Check that your cabinetry fits the specific model dimensions. For example, the PRO4850G model requires precise cabinetry fit at 48″ W x 84″ H x 24″ D. Ensuring your space accommodates these dimensions is critical to avoiding installation delays or complications.
- Electrical Requirements: A dedicated 15-amp circuit (115 VAC, 60 Hz, 3-prong grounding receptacle) is required for the refrigerator. It’s essential not to use a GFCI outlet to prevent interruptions during the operation.
- Plumbing Access: Adequate water supply lines must be positioned for ice maker connections, ensuring no kinks or leaks disrupt functionality.
At Sub Zero Repair Austin, our certified master technicians are trained to assess and verify all necessary home conditions before installing your Sub-Zero unit, ensuring peace of mind.
Anti-Tip Bracket Installation
Safety is paramount, and every Sub-Zero refrigerator must be secured using anti-tip brackets. This crucial step is required for maintaining stability and preventing any tipping, especially in households with children or pets.
- For wood floors, drill 3/16″ pilot holes into wall studs or plates and secure them using #12 screws and washers penetrating at least 3/4″ into the studs.
- If you are working with a concrete floor, drill 3/8″ holes 1-1/2″ deep and use #12 screws and wedge anchors for proper attachment.
Our team at Sub Zero Repair Austin not only understands the installation process, but we ensure that every detail, including safety measures, is implemented correctly.
Placement and Power Connection
After successfully installing the anti-tip brackets, it’s time to level the unit properly and connect the power supply.
- Leveling: Adjust the legs of the refrigerator to ensure it stands upright and is level both front to back and side to side. This is necessary for the fridge’s proper functioning.
- Power Connection: Allow the unit to stand upright for 24 hours prior to powering on. Once positioned, make sure the power cord is not trapped and confirm that the anti-tip brackets are engaged properly before powering on the unit through the external touch display on the grille.
Water Line and Plumbing
Proper plumbing is also necessary to ensure that the appliance operates efficiently.
- Thoroughly purge the water line to remove any debris.
- Install the sleeve/nut without over-tightening to avoid damaging the fixtures.
- After connection, check for leaks to prevent any long-term water damage.
At Sub Zero Repair Austin, we ensure that all plumbing connections are completed meticulously, allowing for seamless appliance operation.
Door and Drawer Alignment
An often-overlooked aspect of installation involves aligning the doors and drawers once the refrigerator is in place.
- Doors can be adjusted in/out or up/down through specific screws, allowing for fine-tuning to ensure a perfect seal.
- Drawers can be adjusted in 1/32″ increments for easy access and operation.
By utilizing specialized protocols, our technicians guarantee that every component of your Sub-Zero model works efficiently and is accurately aligned.
Anchoring and Completion
Once leveling and adjustments have been achieved, the next steps in the installation process include securing the unit and completing the setting.
- Anchoring: After leveling, loosen the top mounting bracket screws to slide brackets to the cabinet sides, securing them with the provided screws.
- Final Touches: Reinstall the drain pan, grille, and kickplate. Ensure that the work cable is secured with ties for neatness and safety. Finally, restore the leg covers and perform a final power on check.
Dual Installation Guidelines
In some cases, SUB-ZERO units may require dual installation, especially for configurations where units are placed less than 2″ apart. This is crucial to prevent moisture build-up that can lead to functional issues.
- The PRO3650/PRO3650G models require a specific kit (part 9013050) for a handle-to-handle installation.
- For PRO4850/PRO4850G, it’s essential to use a 2″ filler due to the hinge placements; no kit is available for dual installations of these specific units.
Our team at Sub Zero Repair Austin can assist with all complexities arising from dual installations, ensuring your units operate optimally while maintaining aesthetic appeal.
Additional Resources
For those looking to take a closer look at the installation process, Sub-Zero offers a variety of resources including instructional videos and model-specific guides. These can provide visual context and a detailed walkthrough of the installation steps.
- Installation Videos: Available on the official Sub-Zero website, these resources can serve as a visual guide throughout the installation process.
- Quick Reference Guides: Tailored specifically for each model, these guides can help detail unique installation specifications.
Preventative Maintenance Tips
Once your Sub-Zero unit is installed, it’s vital to ensure its longevity through regular maintenance. Here are some practical tips to keep your appliance in top condition:
- Regular Cleaning: Maintain the exterior and interior of your refrigerator to prevent build-up and enhance performance.
- Check Seals: Regularly check the door seals for wear and tear. Proper sealing is essential for energy efficiency.
- Schedule Professional Servicing: Arrange for routine evaluations from Sub Zero Repair Austin to ensure optimal operation and catch issues before they escalate.
Conclusion
Proper installation of your Sub-Zero PRO Series refrigerator is vital for ensuring that your appliance operates efficiently and lasts for years. Choosing professionals like Sub Zero Repair Austin guarantees a personalized approach to your installation, thanks to our skilled and certified technicians who specialize in Sub-Zero appliances. By adhering to the necessary guidelines and protocols, we ensure a seamless and hazard-free installation, allowing you to enjoy the luxury of your Sub-Zero refrigerator without concern.
If you’re considering the installation of a Sub-Zero appliance or need assistance with existing equipment, don’t hesitate to reach out. Contact Sub Zero Repair Austin today to schedule a service appointment or inquire about our comprehensive repair and maintenance services. Your Sub-Zero appliance deserves nothing less than the best—let us be your trusted partner in luxury appliance care!